This is a quick guide on how to use Bulk Image resize in order to resize images in bulk.
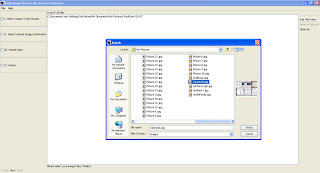
Add a file or a folder by pressing the add file/ folder button. When adding a folder, the program will search all of the folder’s sub folders and add all of the images to the list pan. A total count of all of the images will be displayed at the top of the pan. Press the Next button or click the Step II Tab to continue.
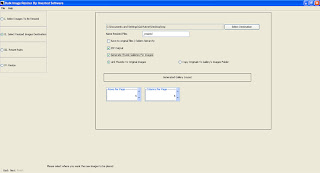
Select the destination folder. This folder is an existing folder on your computer where all of the resized images will be outputted. If you need to rename your images in a pattern, for example: _small, you can type the name in the name text box. You can choose to save the images to the same folder structure as the originals, created in the destination folder, create image to display the images on your website, and save the output into a zip file. Press the next button to continue.
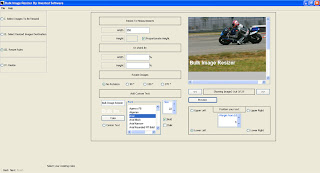
You can specify the dimensions of the new images by exact size or by percent. You can also select to keep the original dimensions when resizing to an exact size in order to prevent image distortion.
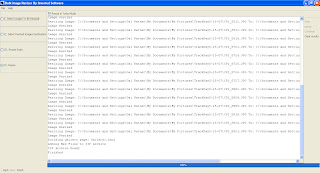
Press the finish button to start the resizing process.
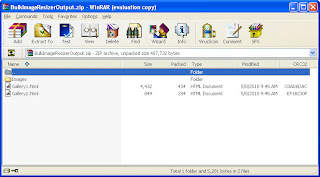
This is the generated output.
 Add a file or a folder by pressing the add file/ folder button. When adding a folder, the program will search all of the folder’s sub folders and add all of the images to the list pan. A total count of all of the images will be displayed at the top of the pan. Press the Next button or click the Step II Tab to continue.
 Select the destination folder. This folder is an existing folder on your computer where all of the resized images will be outputted. If you need to rename your images in a pattern, for example: _small, you can type the name in the name text box. You can choose to save the images to the same folder structure as the originals, created in the destination folder, create image to display the images on your website, and save the output into a zip file. Press the next button to continue.
 You can specify the dimensions of the new images by exact size or by percent. You can also select to keep the original dimensions when resizing to an exact size in order to prevent image distortion.
 Press the finish button to start the resizing process.
 This is the generated output.
No comments:
Post a Comment